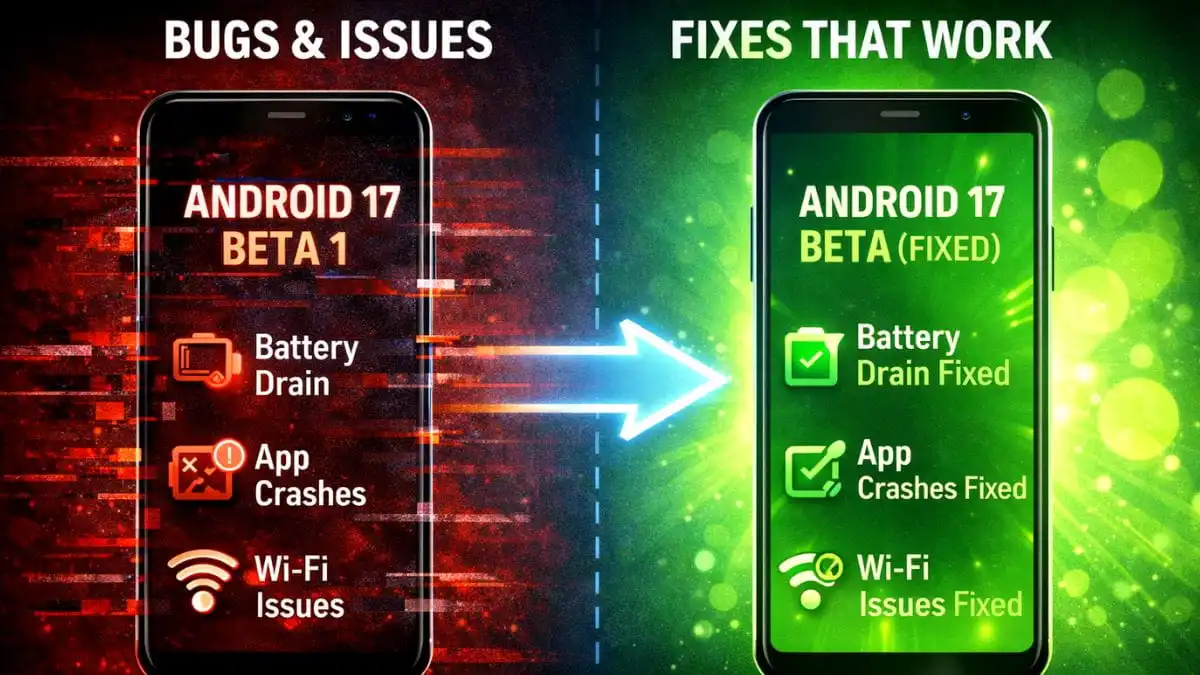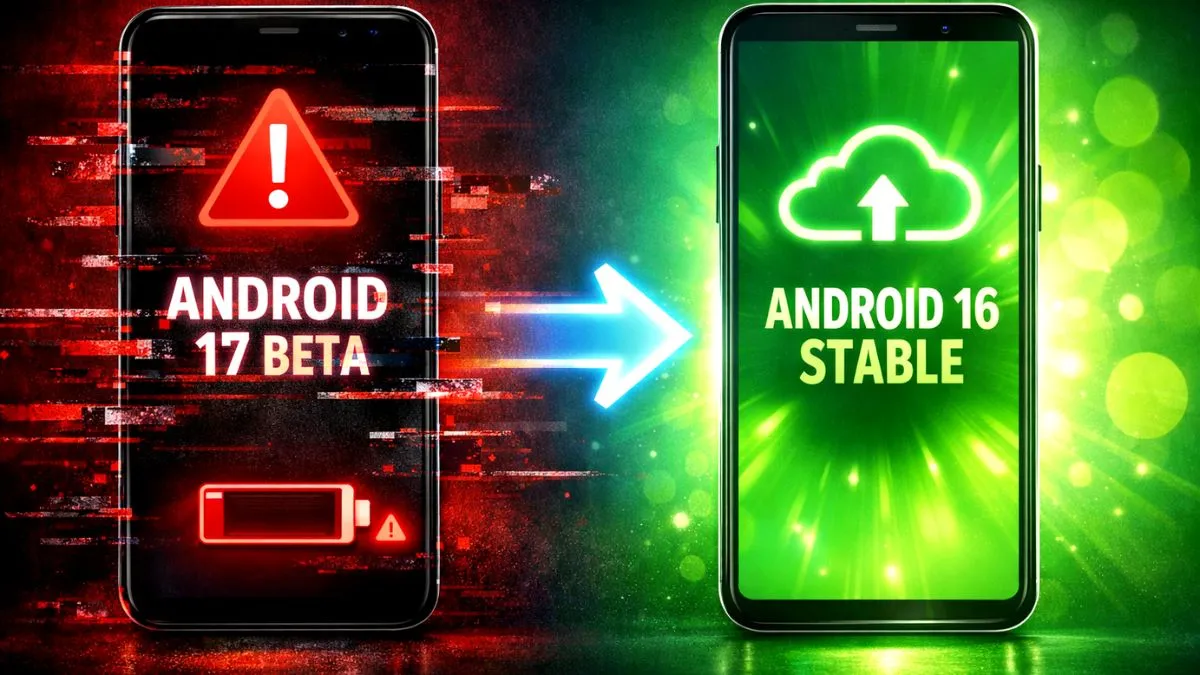
You installed the new beta update to try out the latest features. But now your phone is crashing, apps are freezing, and the battery is draining fast. You just want your stable phone back.
I will show you how to downgrade android 17 beta to android 16 without losing your important data. Going back to an older version will completely wipe your phone memory. So we need to back up everything first. Here is the safest and easiest way to do it.
Step 1 Back Up Your Data
Since the downgrade process deletes everything on your phone, you must save your files to your Google account.
- Go to Settings and tap on Google.
- Select Backup.
- Make sure the Backup by Google One option is turned on.
- Tap the Backup now button.
- Open your Google Photos app and make sure all your recent pictures are synced to the cloud.
When the downgrade is finished, you will use this backup to restore your contacts, messages, and apps.
Step 2 The Easy OTA Method For Pixel Phones
If you have a Google Pixel phone enrolled in the beta program, you do not need a computer to downgrade. You just need to leave the program officially.
- Open the web browser on your phone or computer.
- Go to the official Android Beta Program website google.com/android/beta.
- Sign in with the exact same Google account you use on your phone.
- Scroll down to see your eligible devices.
- Find your phone and click the Opt out button.
- Now pick up your phone and go to Settings.
- Tap System, then select System update.
- Tap Check for update.
You will see a new update available that will wipe your device and install the stable Android 16 version. Download and install it. Your phone will restart a few times and boot up with a fresh copy of Android 16.
Step 3 The Manual Method For Other Phones
If the easy method does not work or your phone manufacturer does not support over the air downgrades, you have to do it manually using a computer. This takes a little more work but it fixes the problem.
- Download the Android SDK Platform Tools from the official Google developer website on your computer. Extract the folder.
- On your phone, go to Settings and tap About phone. Tap the Build number seven times to unlock Developer Options.
- Go back to the main Settings menu, open Developer Options, and turn on USB Debugging and OEM Unlocking.
- Download the official Android 16 factory image file for your specific phone model to your computer.
- Extract those image files into the Platform Tools folder you downloaded earlier.
- Connect your phone to the computer using a good USB cable.
- Open your computer terminal or command prompt inside that folder.
- Type
adb reboot bootloaderand hit enter. - When your phone enters fastboot mode, run the
flash-all.batfile if you are on Windows, or./flash-all.shif you are on Mac.
The script will automatically wipe your phone and install Android 16. Do not unplug the cable until the process is completely finished.
Restoring Your Phone
When your phone turns back on, it will look like a brand new device.
Connect to your WiFi network and sign in with your Google account. The setup screen will ask if you want to restore data from a backup. Select the backup you made in Step 1. Your phone will slowly download all your apps, contacts, and settings.
Your phone might feel a little warm and slow for the first few hours while it downloads everything in the background. This is completely normal. By the next morning, your phone will run perfectly smooth on Android 16.